How to Uninstall Node.js from Windows
This article was updated on 21 June 2023.
Content Links
Introduction
Prerequisites before uninstalling Node.js
Let’s Uninstall Node.js
Conclusion
Helpful Links
Introduction
I no longer used Node.js, so I uninstalled it from my laptop, which has a Windows 10 operating system (OS).
Previously, I had to install Vue.js for the Web Frameworks class I enrolled in. And to install and use Vue.js, I had to install Node.js, which includes the NPM.
What exactly is Node.js, Vue.js, and NPM?
Vue.js is a framework used to build user and single-page interfaces.
Node.js is an open-source environment mainly used for programming for the back end (software systems users don’t see).
NPM, included with Node.js installation, stands for Node Package Manager.
NPM is a library, a software database for JavaScript packages (set of programs).
NPM in lowercase npm is part of a command line in the command-line interface that organizes modules and manages code packages.
I didn’t have any use for Vue.js, so I didn’t have any use for Node.js. I removed (deleted) Node.js quickly and cleanly from my laptop.
Prerequisites before uninstalling Node.js
-
Have at least a basic knowledge of the Windows OS on the computer that you’re uninstalling Node.js from.
If you understand the computer’s software, applications, and programs, you’ve passed this prerequisite.
-
Have basic command-line interface (CLI) knowledge.
We’re using the Command Prompt (Admin) to help uninstall Node.js because this CLI is beginner friendly, and you don’t need IT expertise.
-
Have Administrator Privileges to use Command Prompt (Admin) because you’ll significantly change the device’s OS.
For more information on Administrator Privileges, please read my post How to Run Command Prompt Admin.
Let’s Uninstall Node.js
The goal is to uninstall Node.js from the device wholly and cleanly.
Let’s reach the goal in 9 simple steps.
-
Clear out the Node.js caches stored inside the user file system, specifically in the default directory called %AppData%/npm-cache.
The npm cache stores packages and dependencies (software that relies on another software) that the computer can retrieve for later use.
We’ll clear out those packages and dependencies from the computer because we won’t need them and will gain more storage space.
After we gain access to the CLI, we’ll completely clear the cache by typing npm cache clean –force at the command prompt.
To access the CLI:
Right-click the Windows Start icon on the taskbar.
It’s the icon that looks like a small window (like the image shown below) that’s usually found (depending on the position of the taskbar) in the lower left corner if the taskbar is at the bottom of the screen or the upper left corner of the taskbar if the taskbar is at the top of the screen.
From the Power User Menu (PUM) that appears, click on Command Prompt (Admin).
A User Account Control (UAC) window asks, “Do you want to allow this app to make changes to your device?”
Click Yes.
The Command Prompt (Admin) window will open, and you should see the following command prompt in the window:
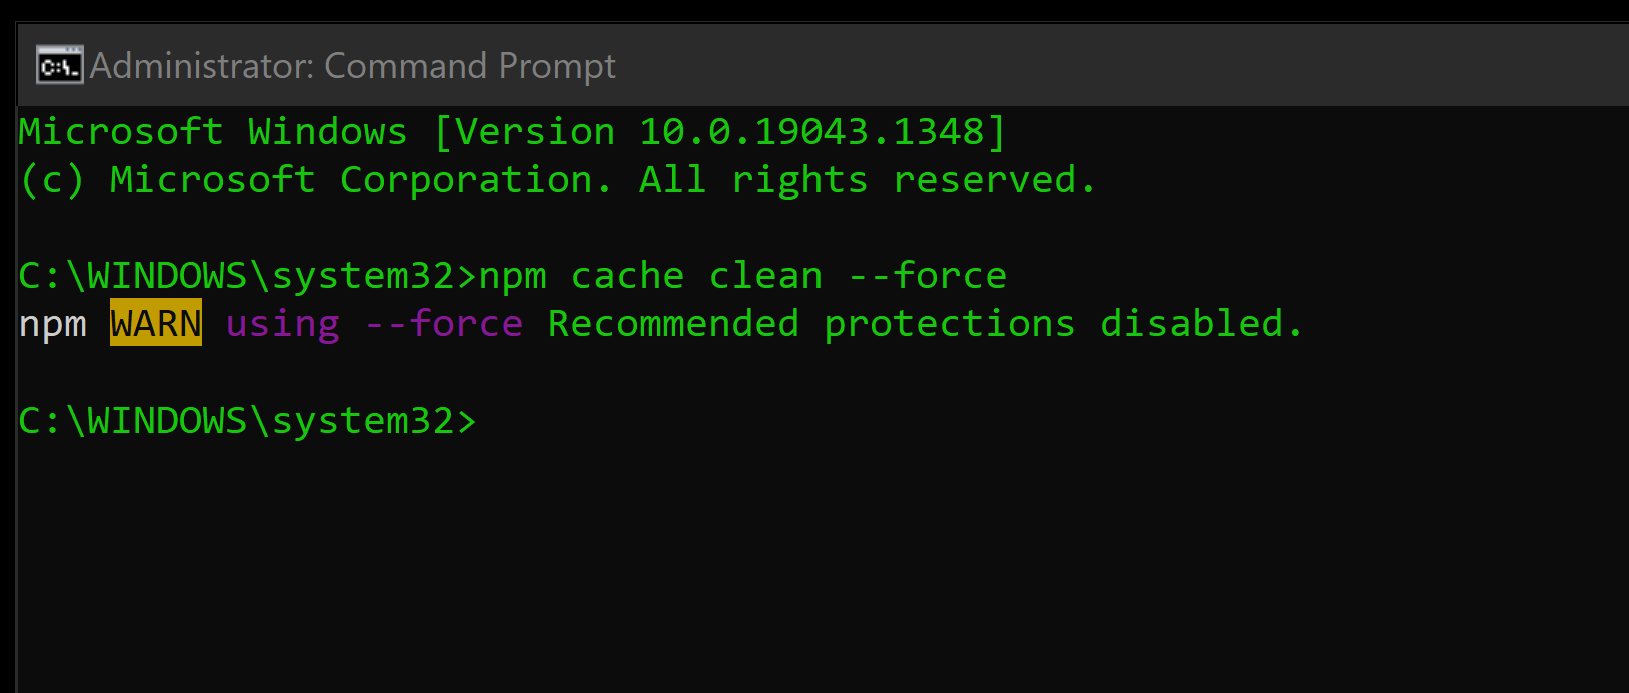
C:\Windows\System32>_Enter the following command right after the command prompt to completely clear out the cache:
npm cache clean --forceThe image below depicts the npm message after I input the above command.
-
After we’ve cleared out the cache, we must verify existing cache contents.
Verifying existing cache contents in this step means ensuring the computer has cleared the cache.
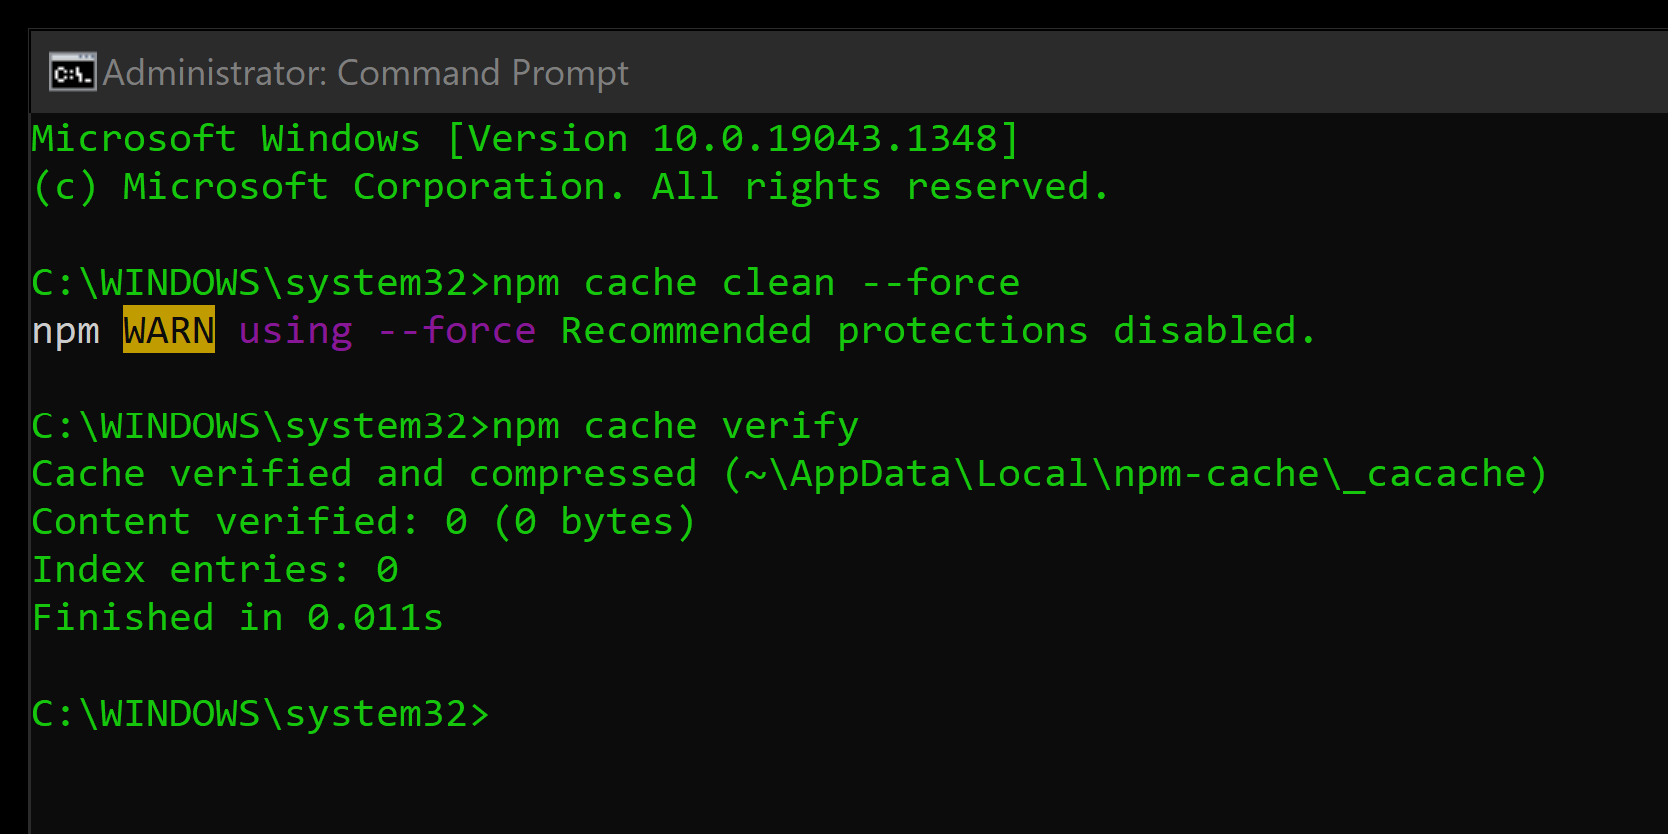
To verify, type the following command:
npm cache verifyThe Command Prompt (Admin) window outputs text that informs you that the computer verified the cache with 0 index entries and 0 bytes, as depicted in the image below.
-
After we’ve verified the cache, we’ll have to open the Control Panel window.
Click on the Windows Start icon on the taskbar.
The Start menu will open.
While the Start menu is open, type control panel. Typing control panel in lowercase will work fine.
See Control Panel on the start menu window.
Click Open to see a window similar to the image below.
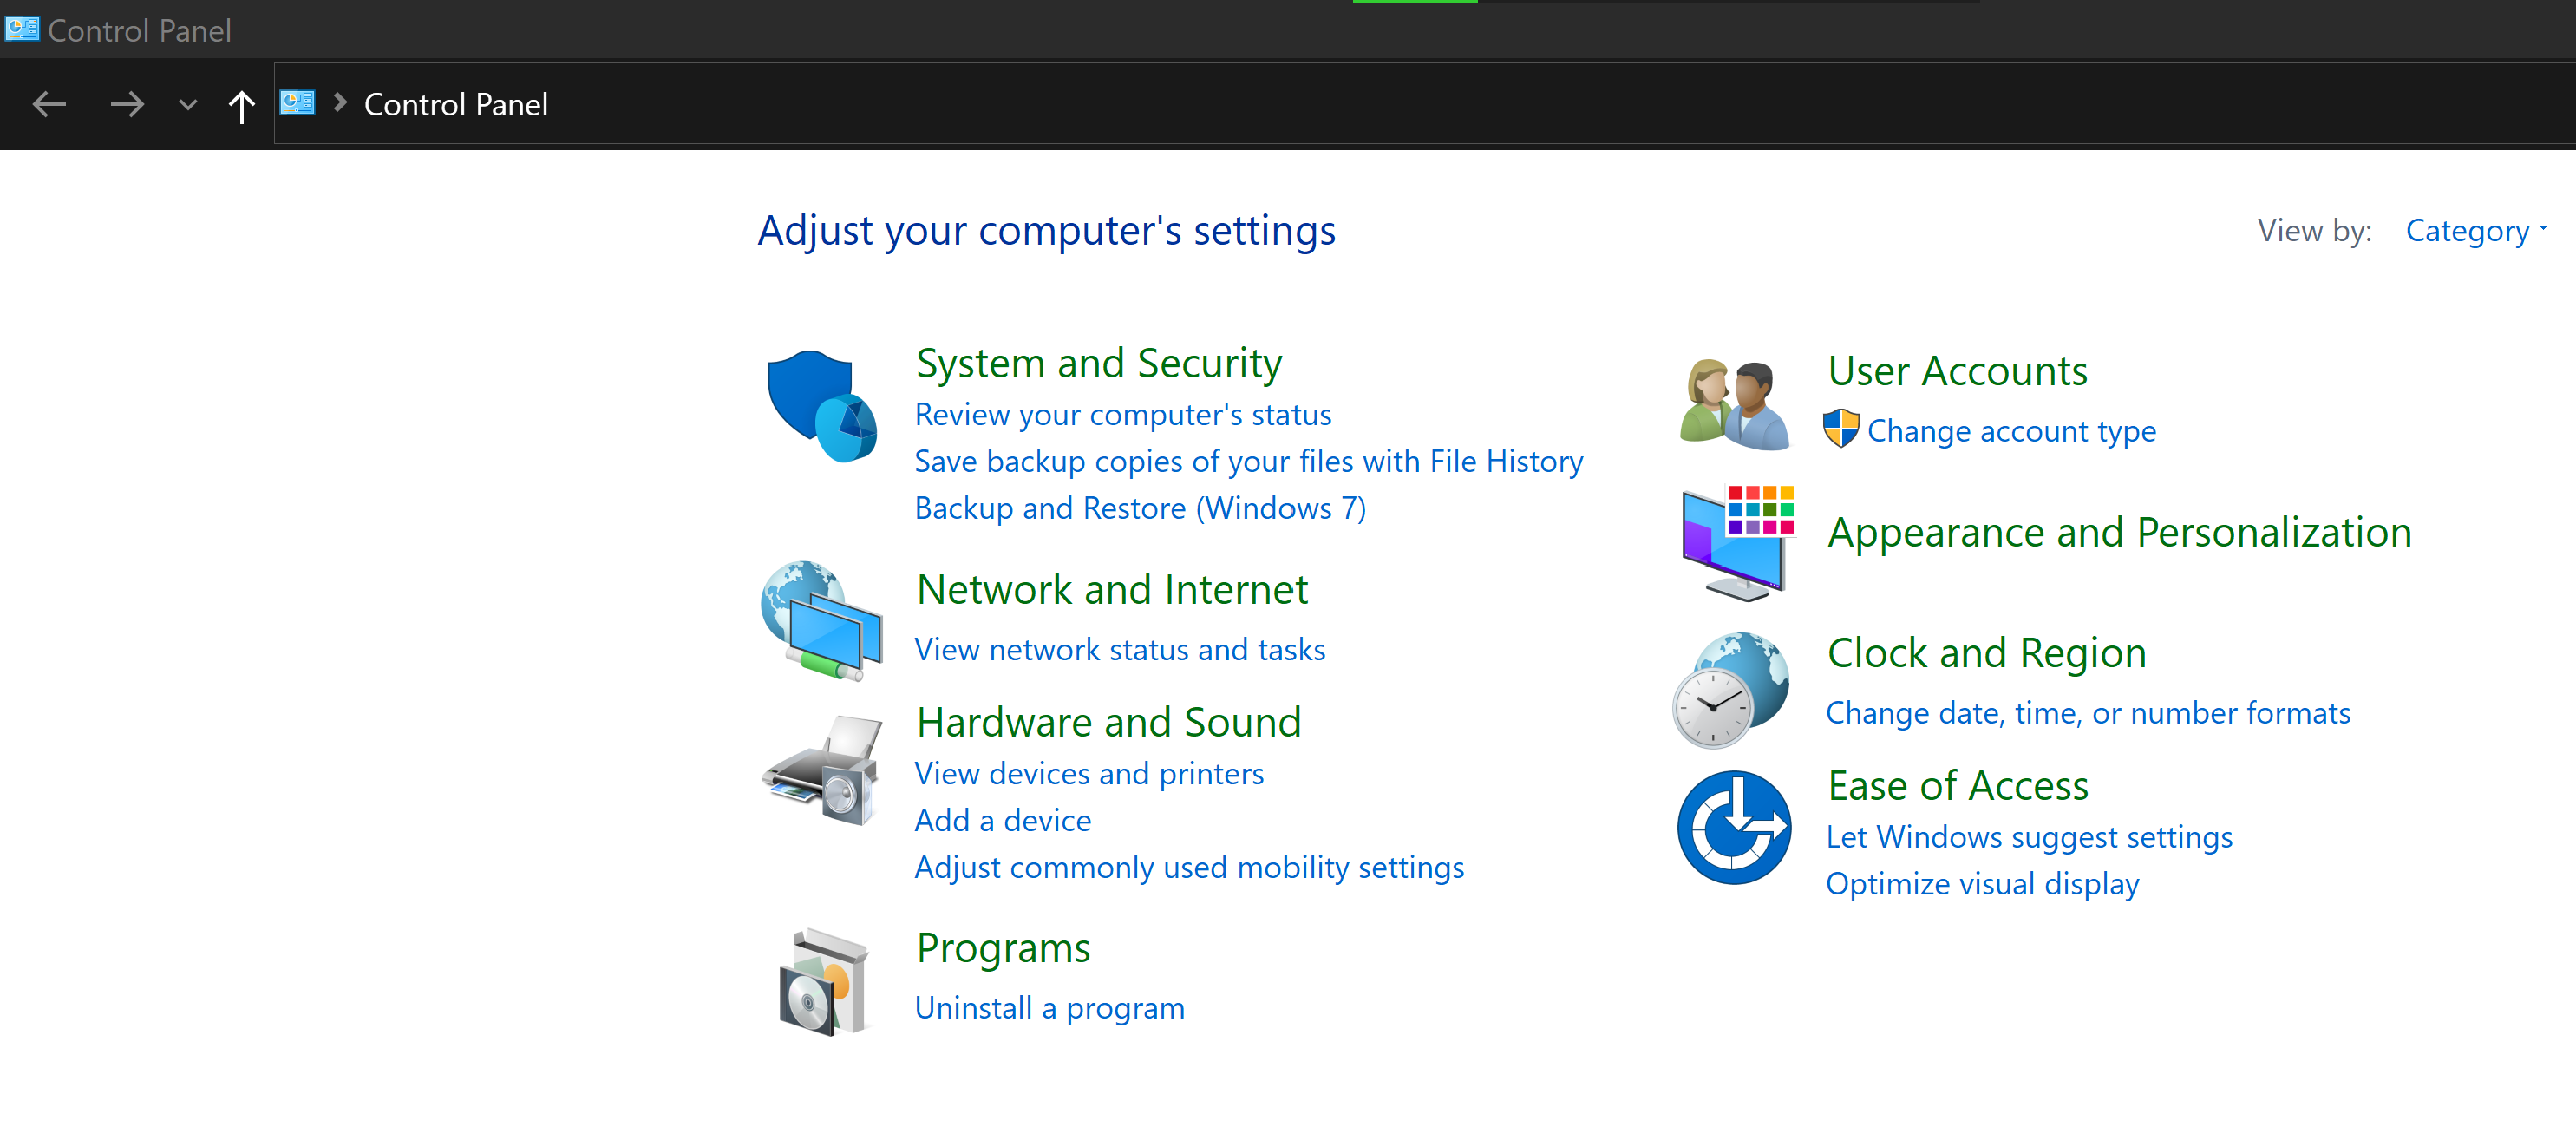
Click Programs to see a window similar to the image below.
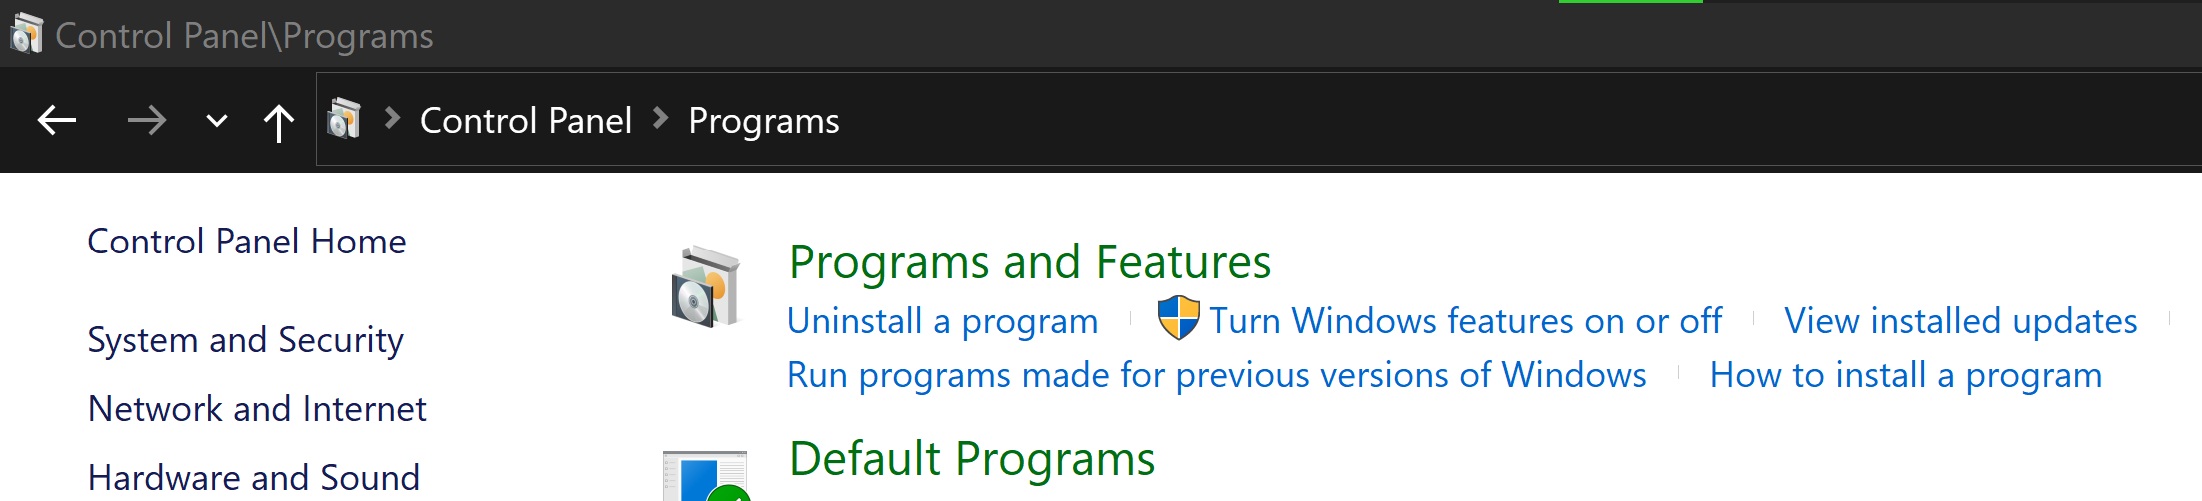
Click Programs and Features.
See the table of installed programs in the Programs and Features window.
The image below depicts the top part of my Programs and Features window. Not included with this top part is the table of my installed programs. The table of installed programs has 5 column headers.

The column headers from left to right of the table of installed programs are:
- Name
- Publisher
- Installed On
- Size
- Version
Click on the Name column header to sort its contents alphabetically.
In the Name column, search for the Node.js program.
The image below depicts the Node.js program in the table.

Find the Node.js app, right-click on it, and click on Uninstall/Change in the mini menu.
A UAC window will appear. Click on Yes.
Windows will remove Node.js from the device.
Wait for this removal process to complete.
-
Restart the device.
-
After restarting the device, let’s conduct a final sweep and remove Node.js-related folders from the device.
Right-click the Windows Start icon. The PUM will pop up.
In the PUM, click on File Explorer.
In the Local Disk (C:) and depending on the device’s setup, we might find folders similar to those listed below:
 C:\Program Files(x86)\Nodejs

 C:\Program Files\Nodejs

 C:\Users\yourUserName\AppData\Roaming\npm
Remove those Node.js and npm-related folders and their contents.
The yourUserName stands for your username.
The computer hides folders like AppData.
To temporarily unhide such folders, click on the View tab in the File Explorer window menu, and in the Show/hide group, click the Hidden items check box.
Remember to uncheck the Hidden items after the end of this step.
Another method to see contents in the AppData folder is to do the following steps:
Right-click on the Windows Start icon.
On the PUM, click Run.
Type appdata.
Click OK.
Click on the Roaming folder.
In the Roaming folder, we might find the npm folder.
Remove the npm folder and its contents.
C:\Users\yourUserName\AppData\Roaming\npm-cacheAnother method to see the contents of the above folder is to do the following steps:
Right-click on the Windows Start icon.
On the PUM, click Run.
Type appdata.
Click OK.
Click on the Roaming folder.
In the Roaming folder, we might find npm-cache.
Remove the npm-cache folder and its contents.
C:\Users\yourUserName\npmrcRemove the npmrc folder and its contents.
C:\Users\yourUserName\AppData\Local\Temp\npm-*The asterisk (*) is a wildcard character representing one or many characters.
Remove the npm-* folder and its contents.
-
After the final sweep and removal, review the computer’s Environment Variables to ensure no instances of npm or Node.js remain.
To access the Environment Variables, click the Windows Start icon.
While in the Start menu, type env.
Click on Open found under Edit the system environment variables.
See a System Properties window depicted in the image below.
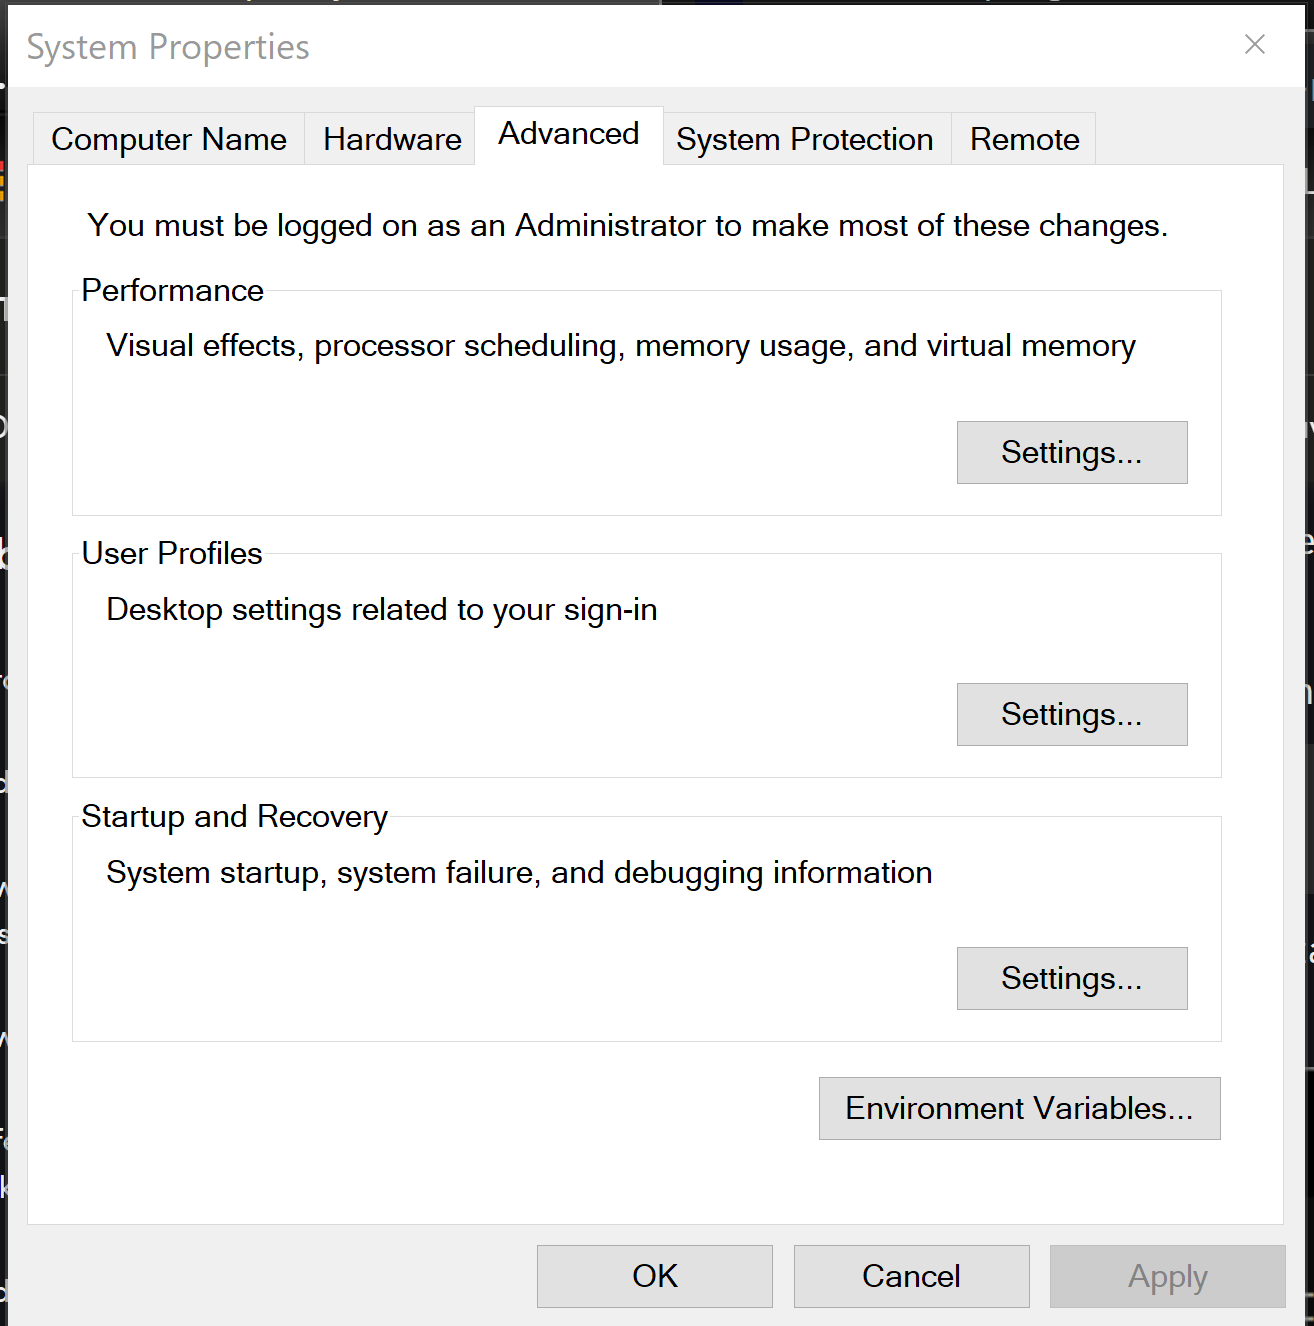
Click on the button that says Environment Variables…
You’ll see a table with Variable and Value as column headings under User variables for yourUserName.
Following the User variables for yourUserName table is the System Variables table.
Ignore the System Variables table. Please don’t touch it! 😱
In the User variables for yourUserName table, highlight instances to Nodejs or npm that you find.
Click on the Delete button underneath the User variables for yourUserName table, then click on the OK button at the bottom of the window.
-
To double-check that we’ve uninstalled Node.js, open the Command Prompt (Admin), and type the following command:
where NodeThe image below depicts the results that Node.js is not on my device.
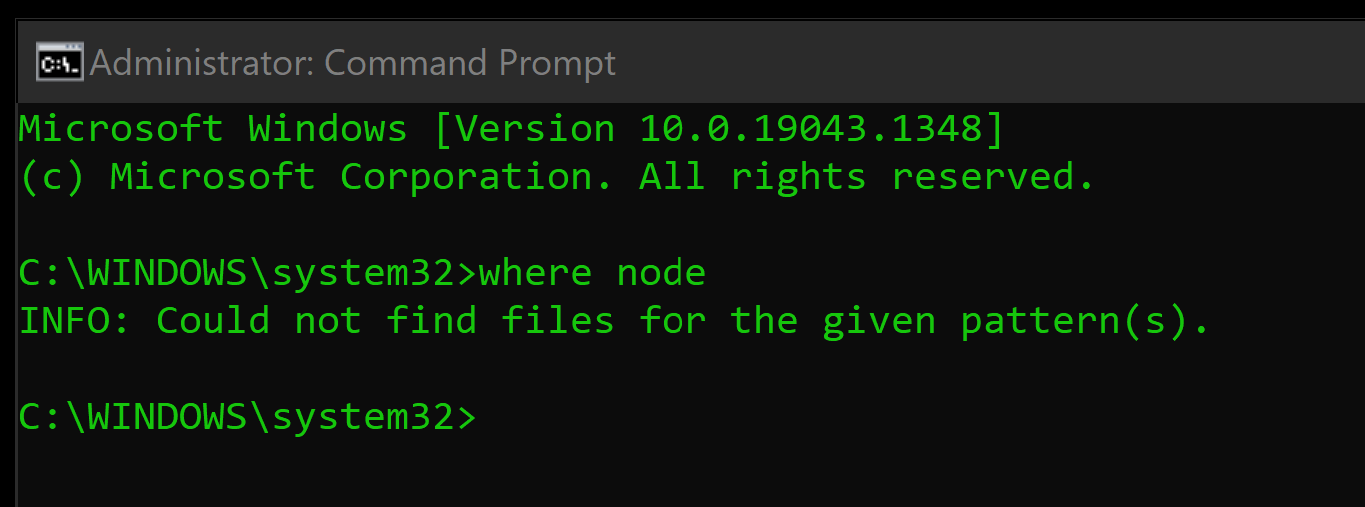
If Node.js is not on the device, we should see a similar message as depicted in the above image.
Type the following command to close the command prompt window:
exit -
If Node.js is still on the device, the Command Prompt window will output the Node.js app’s location, for example:
C:\Program Files\nodejs\node.exeFollow the above path in the File Explorer to remove the nodejs folder and its contents.
-
Restart the device.
Conclusion
Now the computer should have none of the following: npm cache, Node.js program, Node.js-related folders, and instances of Node.js and npm.
We’ve completed our goal to uninstall Node.js wholly and cleanly.
Celebrate. Play. Have ice cream. 👍🏼🍨😅
Helpful Links
How to completely remove Node.js from Windows
Thank you for reading!
Please share this how-to article with your family and friends who need to have Node.js uninstalled.
Follow me on Instagram 😁