How to reconfigure your website's Hugo version in Netlify
This article was updated on 22 June 2023.
Content Links
Introduction
Go to Netlify
Conclusion
Helpful Links
Introduction
I just updated my Hugo website to Hugo’s latest release and want to ensure that Netlify will continuously rebuild and redeploy my site.
My next step is to update the HUGO_VERSION environment variable value on my Netlify account so that the variable will match the version of my Hugo site.
Matching Hugo version variables help to ensure that Netlify automatically and continuously deploys my website after I push my site’s local commits to my site’s repository on GitHub.
Go to Netlify
Confirm your website’s Hugo version
After updating to the latest release of Hugo, the last step was confirming my Hugo version in the command line interface (CLI).
Please read this in my article How to Update to the Latest Release of Hugo.
In my article’s Content Links, click the Confirm Hugo version link.
Or, to quickly get to that section of my article, click Confirm Hugo version.
Log in to Netlify
Log in to your Netlify account.
On the Team overview page, see the Sites module.
In this module, see your website’s thumbnail and name and click on the thumbnail (the entire row is clickable).
See the Site overview page.
Click the Site Settings button with an industrial wheel icon in the box with your site’s name and thumbnail.
See a left box that shows the first clickable header General.
In this same box, see and click Environment variables.
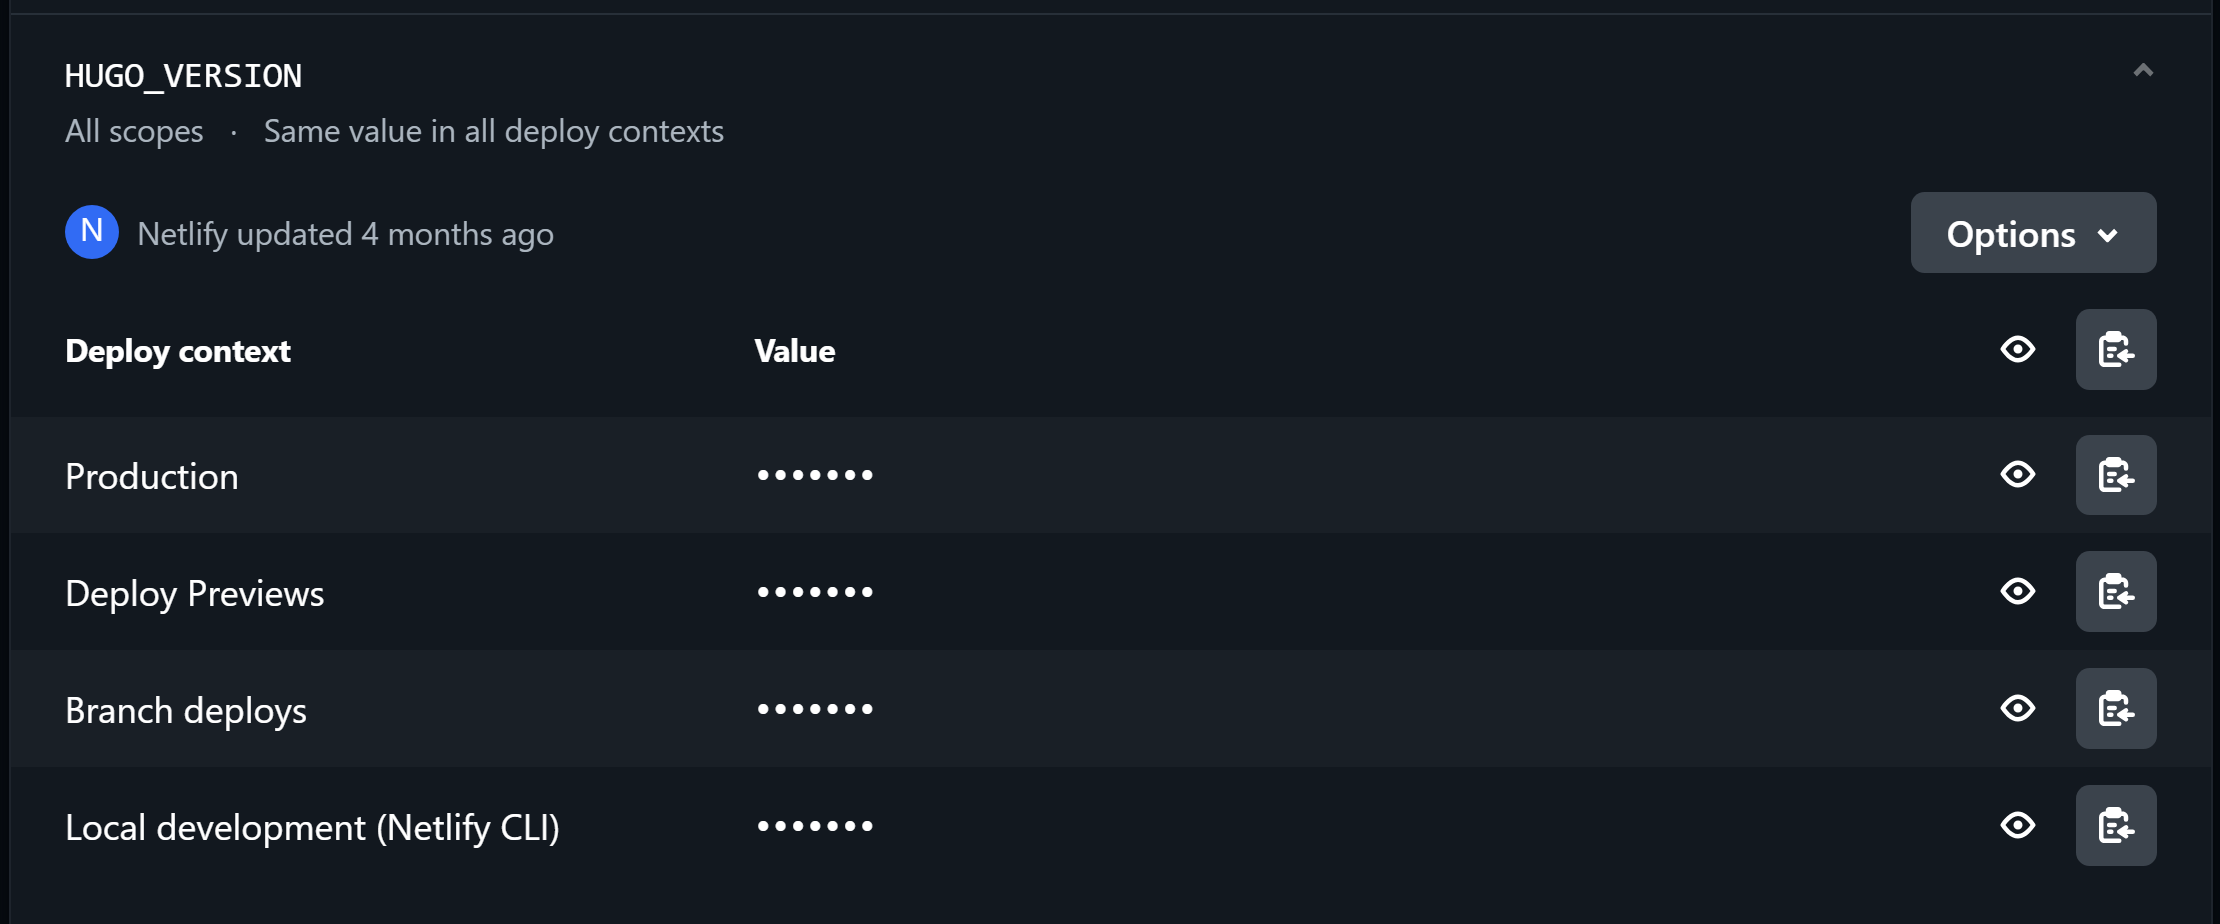
Below the Environment variables header, see and click HUGO_VERSION to expand it.
HUGO_VERSION is now a table that displays Deploy context and Value columns and an Options button on the upper right corner of the table.
You’ll see something similar to the image depicted below.
Click the Options button, then click Edit.
You’ll see something similar to the image depicted below.
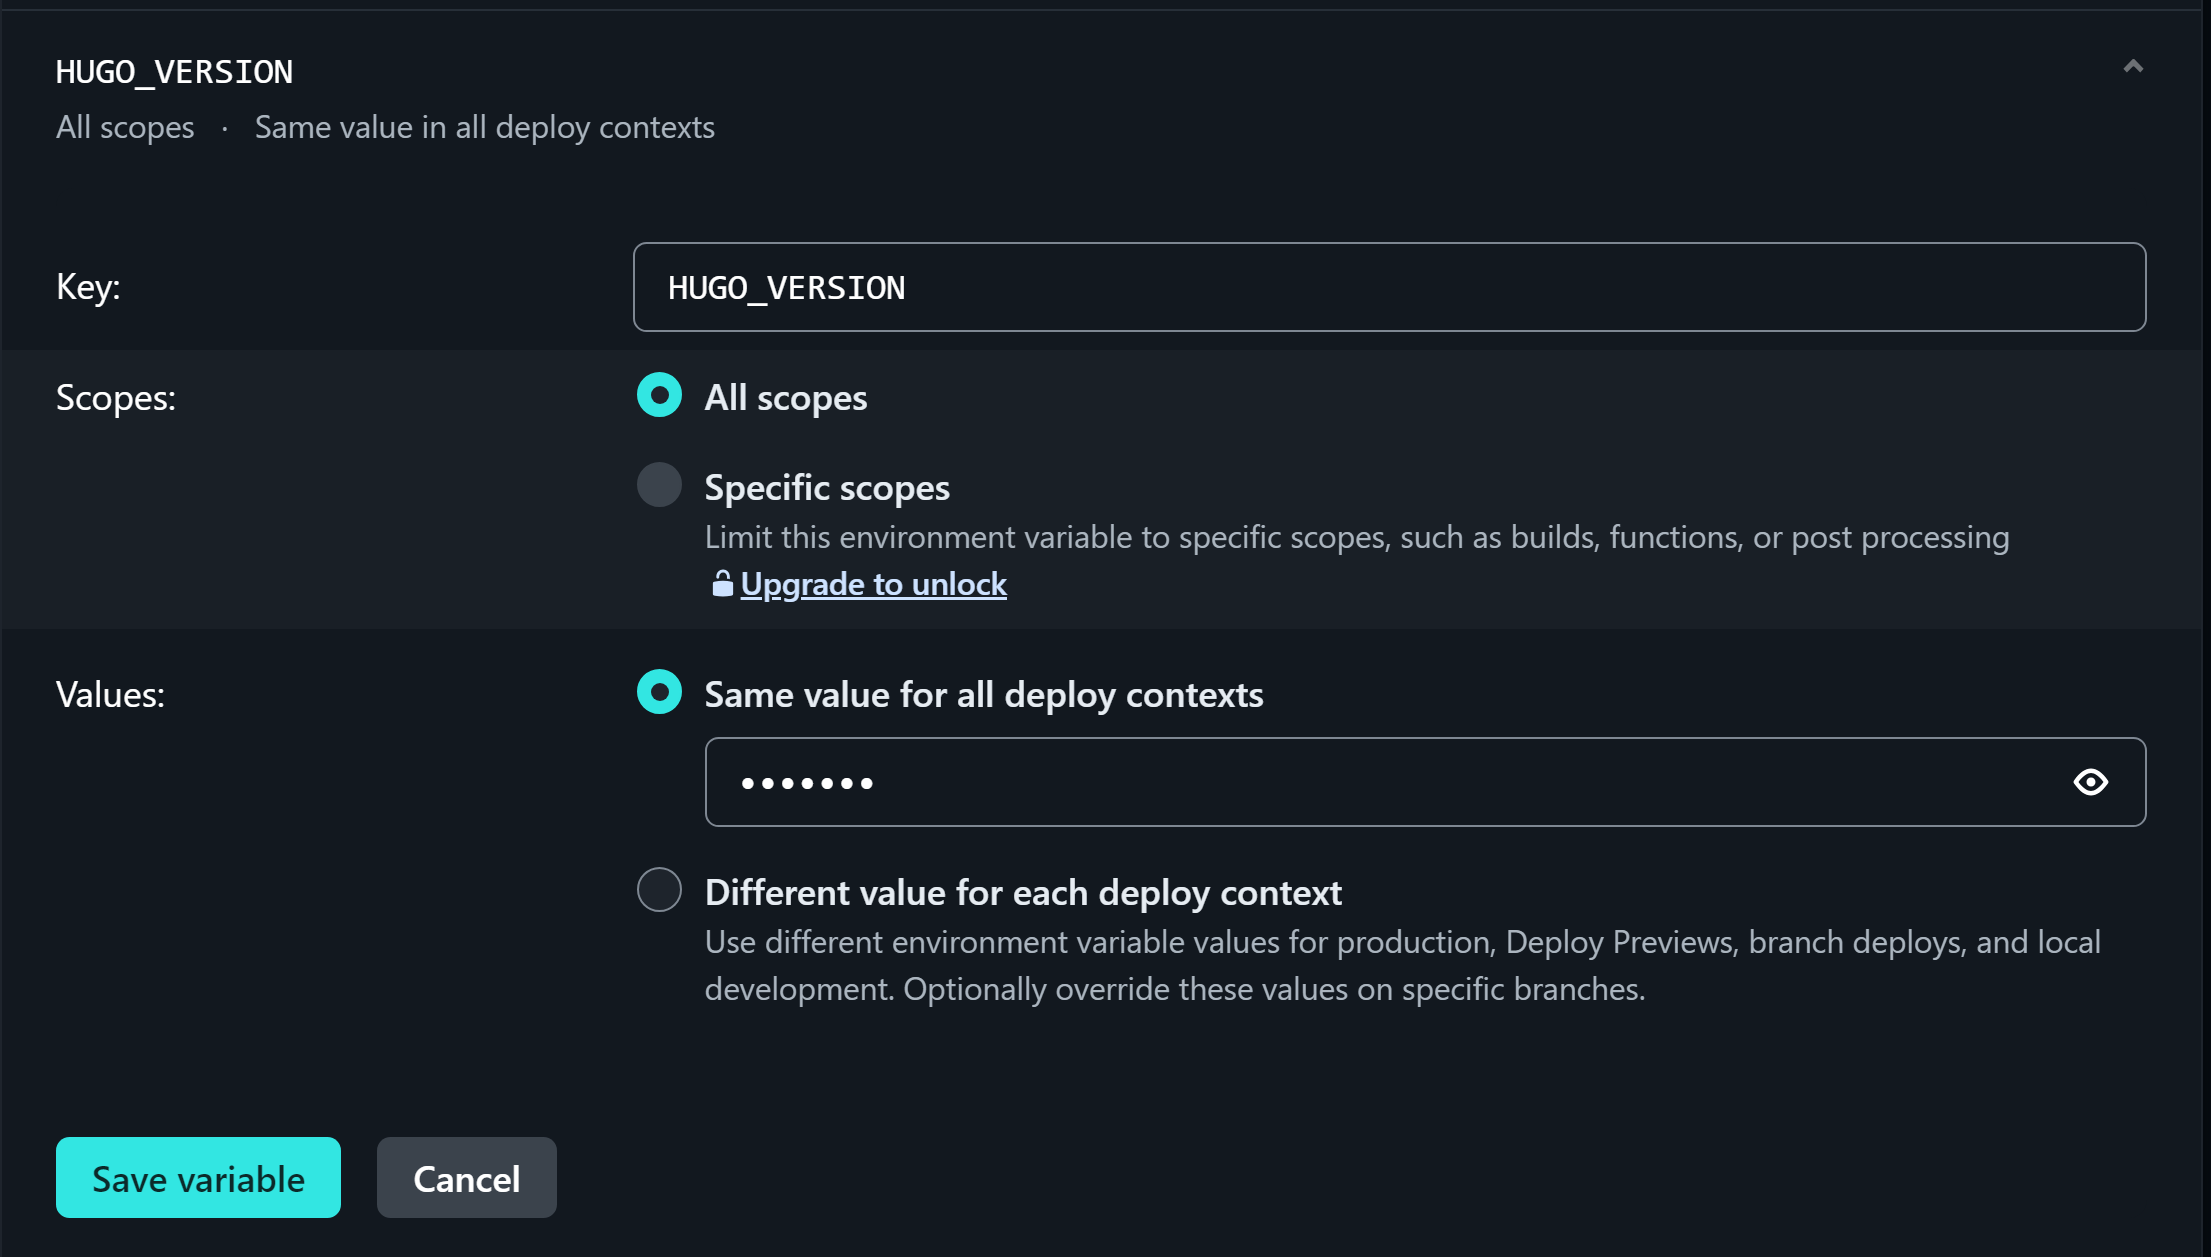
The Key box already has the variable description HUGO_VERSION. Leave the description as is.
In the Value box, click on the eye icon so that the box unhides the related version number.
Revise the version number in the box to match the latest Hugo version.
Ensure that the All scopes and Same value for all deploy contexts radial buttons remain highlighted.
Click the Save variable button to return to the HUGO_VERSION table you saw earlier.
You’re good to go! 👍🏼
Netlify can continue rebuilding and redeploying your site after you push your site’s local commits to your site’s repository on GitHub.
Conclusion
That was easy! 🙌🏼🙏🏼
Now that you’ve updated the Hugo version on your Netlify account, treat yourself to your favorite food 🍜 and watch a movie. 🍿
Helpful Links
Environment variables overview
Thank you for reading!
Please share this how-to article with your family, friends, and anyone needing to reconfigure their Hugo website’s version in Netlify.
Follow me on Instagram 😁